Order the Kuickbox now

Push in. Push round. Reproduce... finished!

The Kuickbox. The “Quickstep” to shoe lasts.

Kuickbox Komplettansicht

Order the Kuickbox now

Push in. Push round. Reproduce... finished!

The Kuickbox. The “Quickstep” to shoe lasts.

Kuickbox offen

Order the Kuickbox now

Push in. Push round. Reproduce... finished!

The Kuickbox. The “Quickstep” to shoe lasts.

Kuickbox Einlage

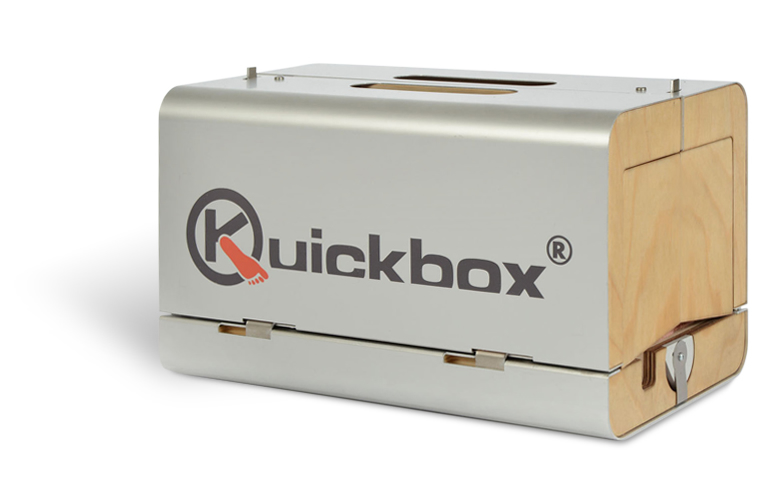
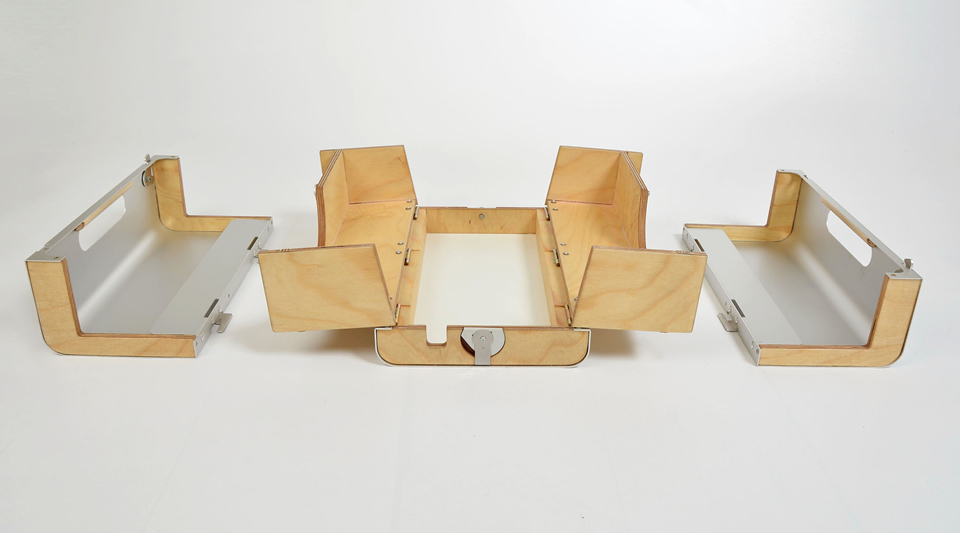
The Kuickbox: foot impressions in seconds.

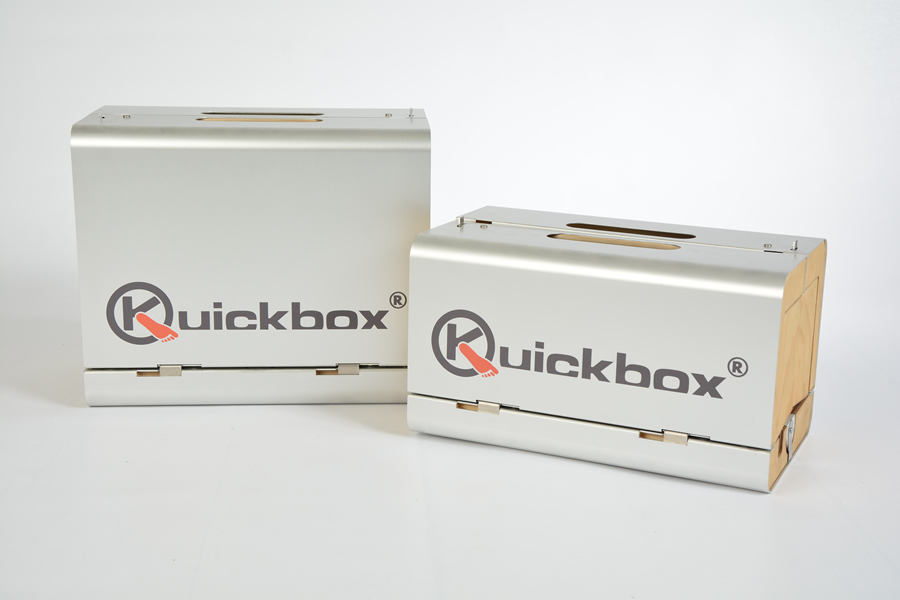
The Kuickbox is the practical device for rapidly creating tailor-made shoe or orthopaedic lasts. Detailed, clean, and mobile usable. Whether it’s for low shoe, ankle-height or leg lasts.

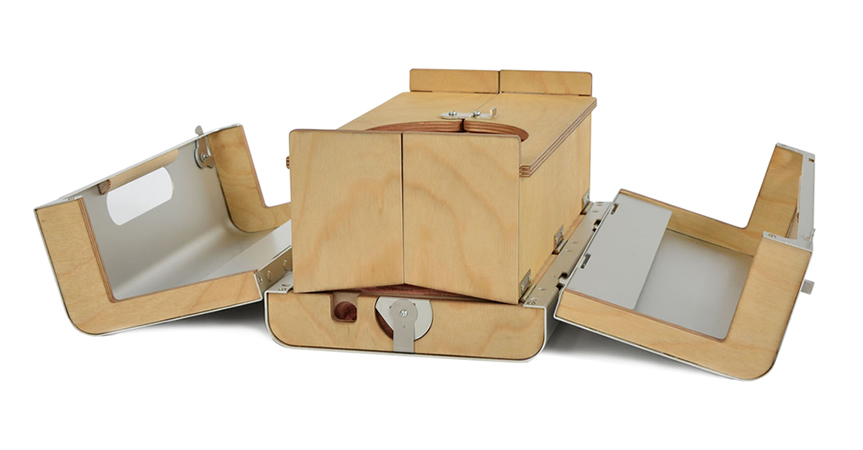
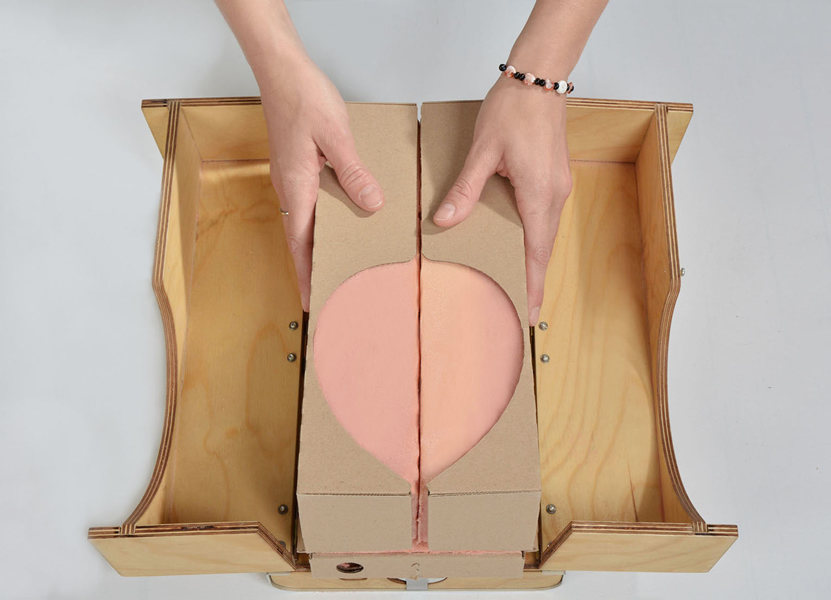
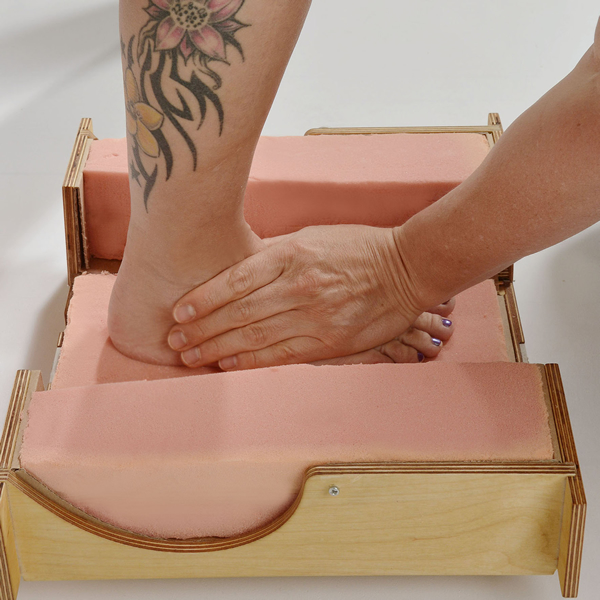
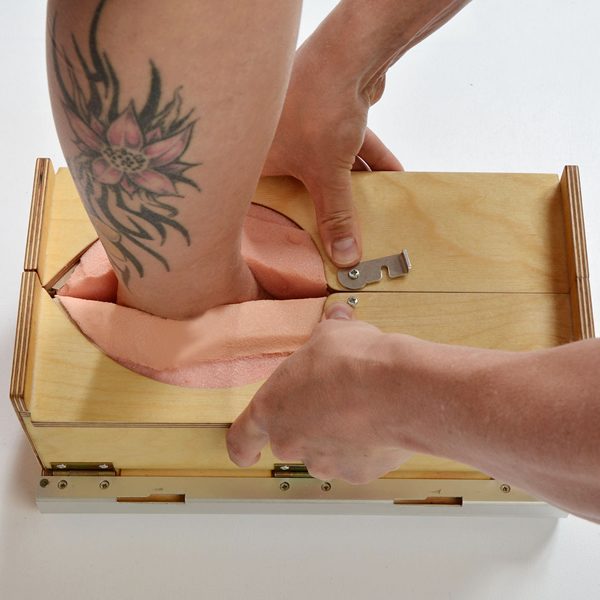
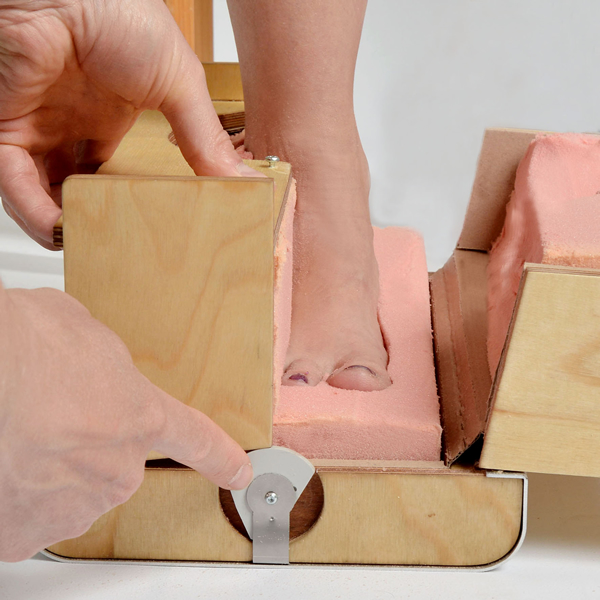
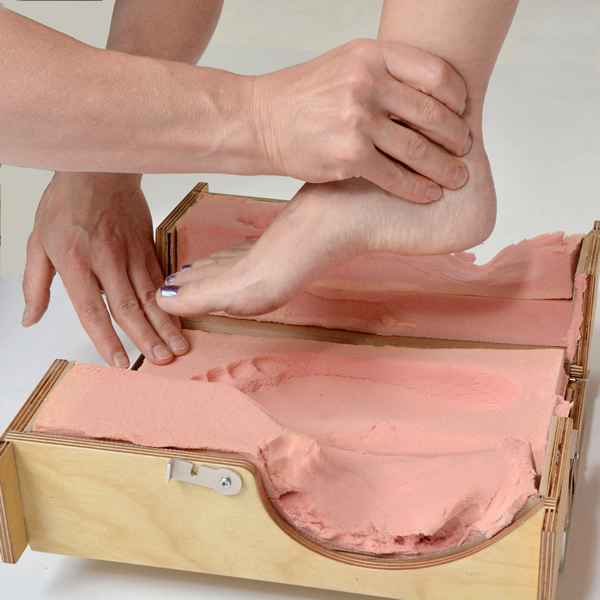
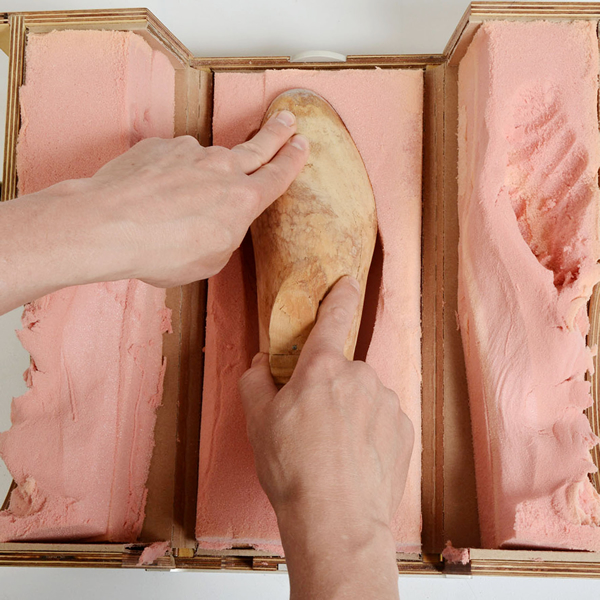
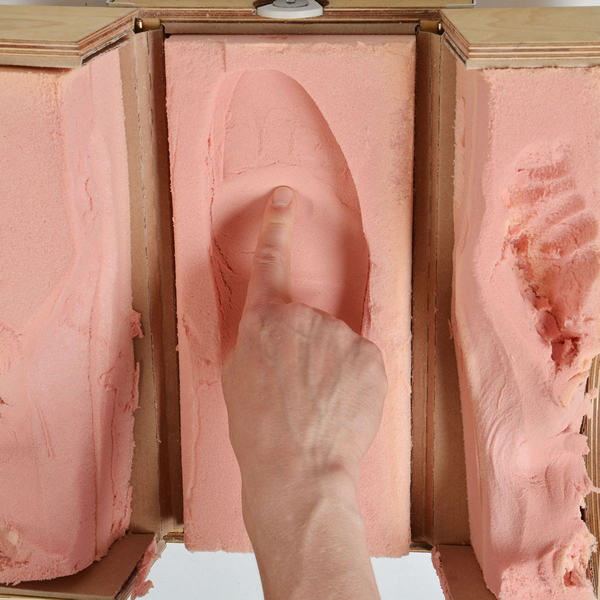
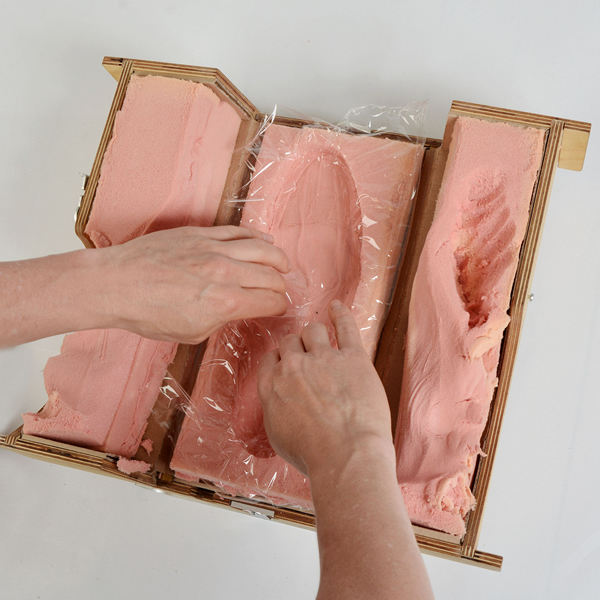
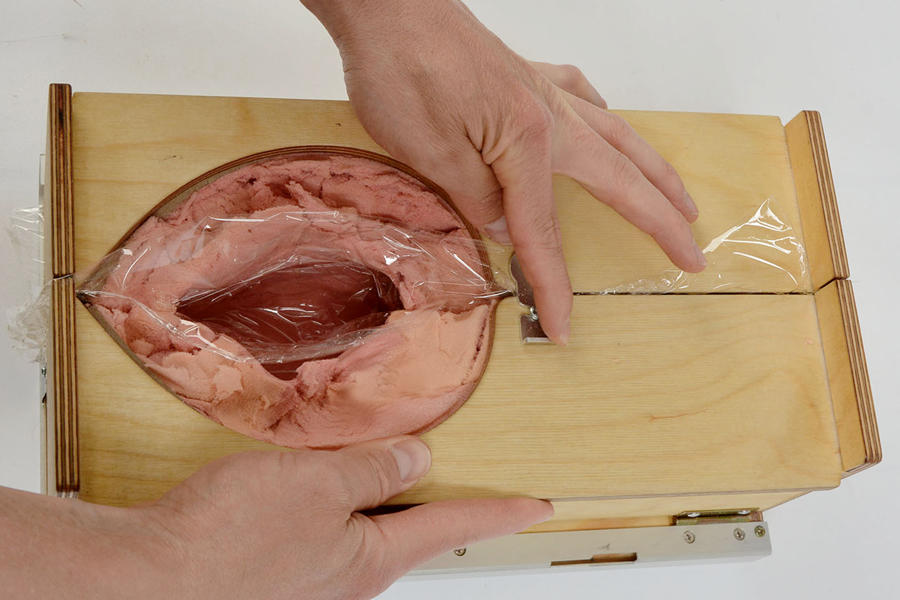
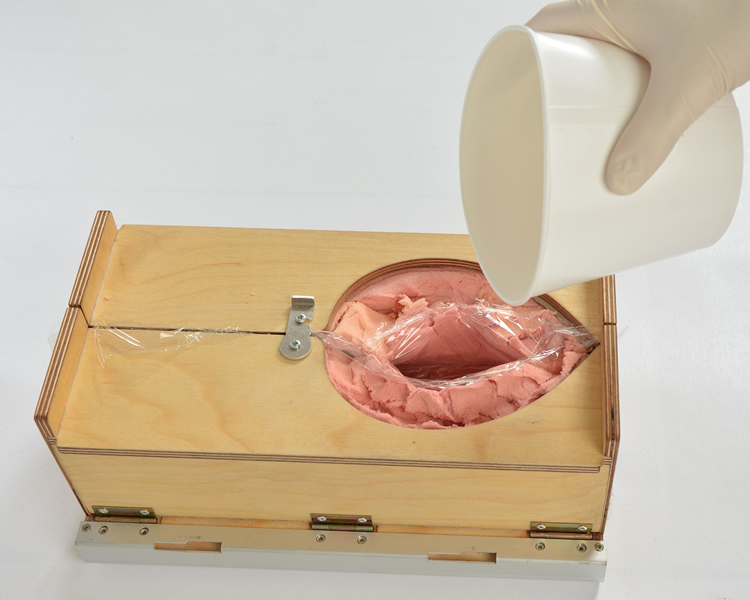
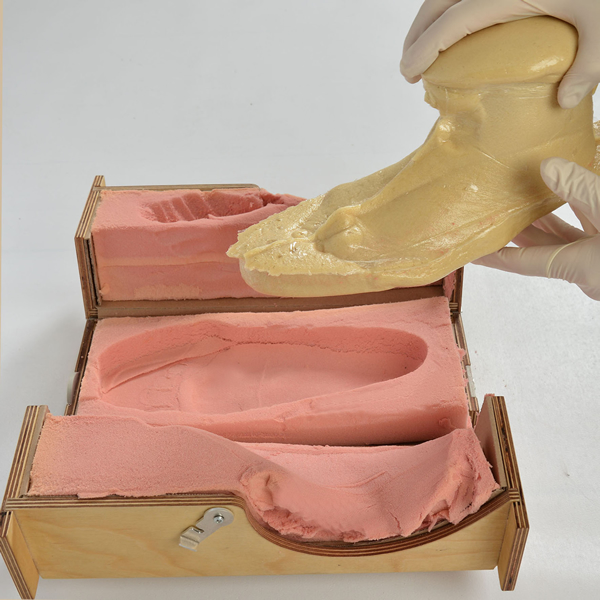
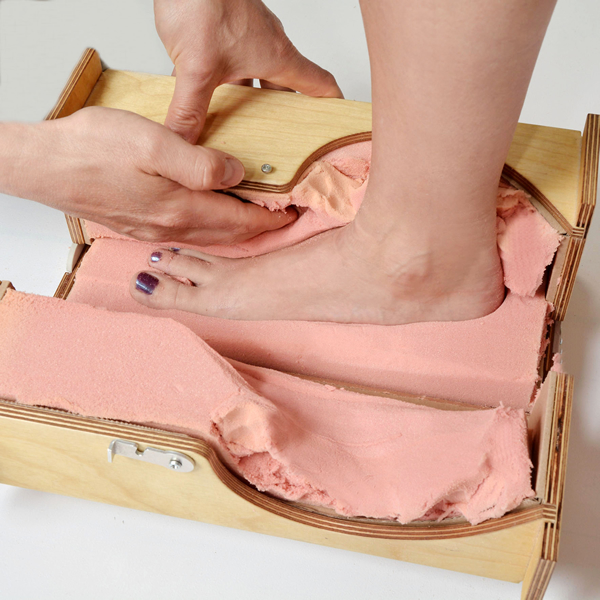
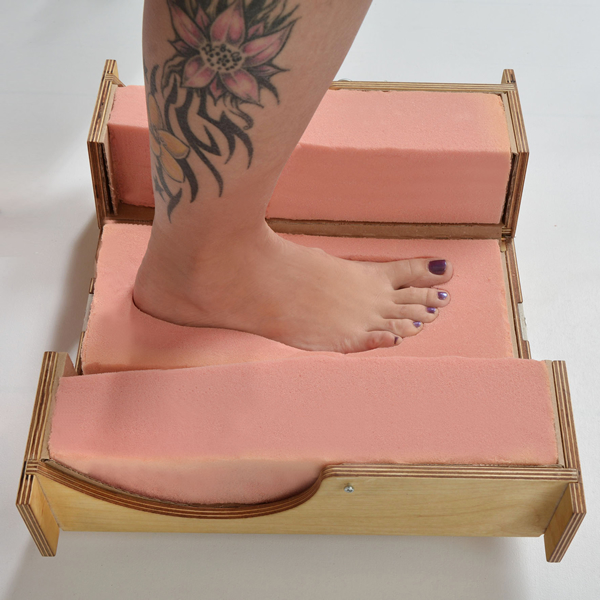
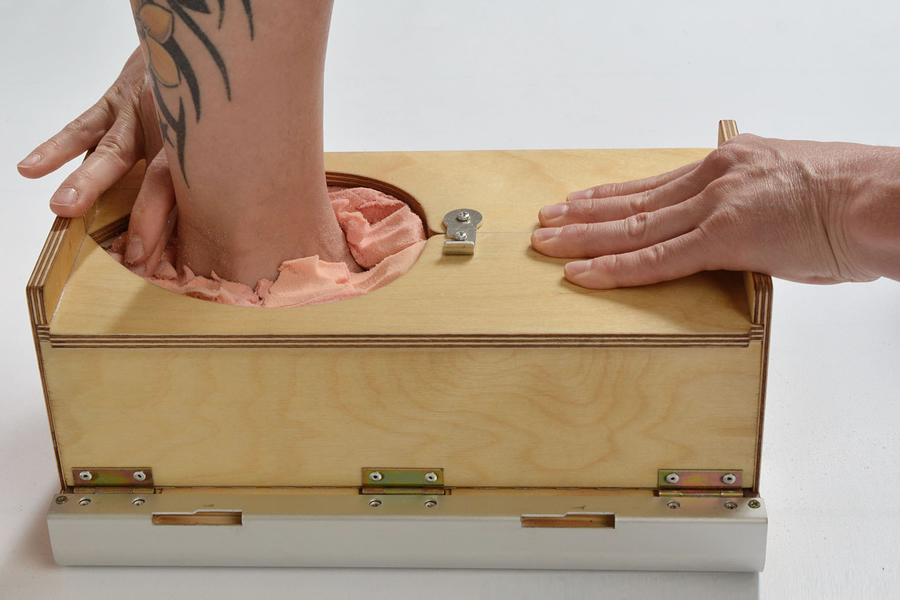
One of the patient’s feet is simply placed into the open moulding device in the desired position. Closing the Kuickbox creates a so-called foot negative in the material inside. A toe-cap addition is then added by simply pushing into the foam. This saves time and makes the shoe last more stable. The casting box is also a container for pouring in the casting resin. The finished raw shoe lasts are then removed after hardening.

Made in Germany. And developed from practical experience.

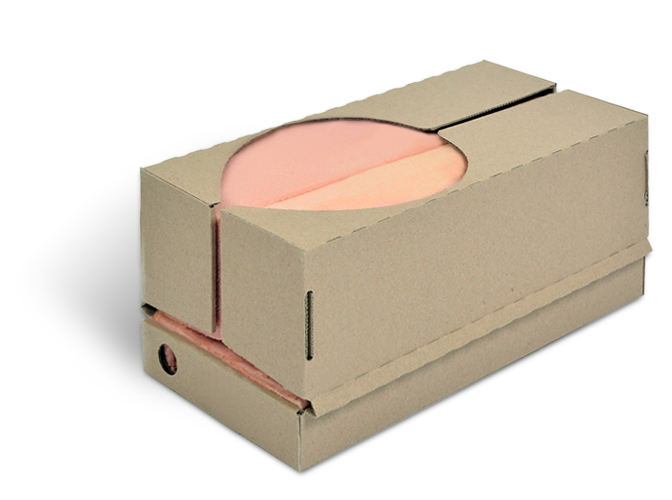
The Kuickbox is produced in Germany. Developed by orthopaedic shoe technicians, it has a long service life when used correctly. The impression material is replaced using a cartridge system. This allows you to take moulds of several patients one after the other. Each cartridge can also be stored, transported or sent by post after removal. The cartridge is then simply reinserted into the Kuickbox for further processing, e.g. 3D scanning or pouring last foam.

Logo Spenle Schuhleistenfabrik

The impression results of the Kuickbox can be recorded and implemented by Spenlé as 3D data. This opens up new possibilities for the user in the field of shoe last production.

Kuickbox. For precision work that fits like a glove.

Orthopaedic shoe technicians

Consulting and bureaucratic work are increasingly becoming the focus of everyday work for orthopaedic shoe technicians. There is less and less time for the craftwork that really matters. Nevertheless, the level of quality must remain high. This is one of the reasons the Kuickbox was developed: to save time while producing excellent impressions.

Made-to-order shoe shops

The custom-made appearance: such a shoe requires a great level of craftsmanship – and takes a lot of time to produce. It has to be adapted to the customer’s special features in order to create a uniquely comfortable walking sensation. The Kuickbox gives the shoemaker more time for the essential things. Through easier work steps without compromising on the quality.

Benefits to you

  • high time saving
  • super fast and accurate moulding
    • – detailed depiction of all foot and leg details
    • – correction of abnormal foot positioning during moulding
    • – very easy to use
    • – no drying times
  • no subsequent casting on of the toe-caps
    • – saves a lot of time
  • satisfied patients or customers
    • – clean work on the foot
    • – innovative process
    • – impressive design
    • – Quality made in Germany
  • clear costs
  • minor rework
  • easy to transport

The Kuickbox. 3 versions. 1 comfortable experience.

The Kuickbox quickly shows its true potential. Very literally. This is because it has been developed by orthopaedic shoe technicians to facilitate the key stage of creating tailor-made shoe lasts: taking foot impressions. The processes used until now were either too complicated or too time-intensive – and linked to high purchase costs. Kuickbox makes it quicker, easier and produces top quality results.

Version 1: „Low shoe & ankle lasts“

  • for repeat use
  • inner impression compound can be exchanged
  • suitable for a foot plus the lower leg
  • Height of to about 16 cm for creating a low shoe or ankle-height last
  • integrated imprint control function for more precise impressions
  • integrated handle for easy transport
  • Storage compartments for functional wedges and height adjustment plates
  • attractive design for discerning customers
  • outer dimensions: 357 x 212 x 202 mm
  • integrated closure for secure transport and side panels fix perfectly when filling with casting resin

Version 2: „Leg lasts“

  • for repeat use
  • inner impression compound can be exchanged
  • suitable for a foot plus the lower leg
  • Height of to about 24 cm for creating a leg last
  • integrated imprint control function for more precise impressions
  • integrated handle for easy transport
  • Storage compartments for functional wedges and height adjustment plates
  • attractive design for discerning customers
  • outer dimensions: 357 x 212 x 292 mm
  • integrated closure for secure transport and side panels fix perfectly when filling with casting resin
Kuickbox Variante 1

Version 3: „Workshop box“

  • for use in production
  • pouring box for molding foam
  • suitable for inserting the refill cassettes
  • for repeat use
  • in two different heights
  • integrated closure for side panels fix perfectly when filling with casting resin
  • not suitable for molding purposes

It fits! Accessories for both versions.

Functional wedges and height adjustment plates:

One pack for one foot:

  • 3 Heel wedges (heel height up to 2.5cm)
  • an inner edge or outer edge rise
  • 3 height adjustment plates (3 x 0.5cm) to lift the entire foot
Funktionskeile und Höhenausgleichsplatten

Cartridges for refilling the Kuickbox:

  • Pack for 22 impressions Version 1: „Low shoe & ankle lasts“
  • Pack for 12 impressions Version 2: „Leg lasts“
Kassetten zum Nachfüllen der Kuickbox

Kuickbox video:
Step by step explanation.

The form and function of the Kuickbox? You have to see it for yourself! We show you moving images about this moving concept. Insight in just one click…

Order the Kuickbox now

Kuickbox in practice. Tailor-made walking experience…

Function and action. Point by point.

Gebrauchsanweisung Bild 1

What are you making? Low shoe, ankle-height or leg lasts?

Gebrauchsanweisung Bild 3.1

Open the moulding box by opening out the exterior side panels and separate these from the box itself. Then open up the internal side panels.

Gebrauchsanweisung Bild 4

Insert the refill cartridge.

Gebrauchsanweisung Bild 5

Remove the impression foam from the central section. Insert the functional wedges and height adjustment plates to the desired foot position (picture) and then replace the impression foam (picture).

Gebrauchsanweisung Bild 9.2

Sit the patient down, place their foot on the central foot impression foam, press the heel and forefoot evenly into the foam until there is resistance. Push the toes down as desired.

Gebrauchsanweisung Bild 10

Then move the lower leg into the desired position.

Gebrauchsanweisung Bild 11

Now bring up both the side panels and push them closed with the necessary force until both sides of the device touch together.

Gebrauchsanweisung Bild 12.1

Then open one side panel and push the closed side onto the foot once more. At the same time, use your other hand to press against the ankle and hold the foot in place. Repeat this process with the second side panel.

Gebrauchsanweisung Bild 13

Set the adjustable pressure function to “zero”. Now the impression can be checked and the foam shaped with the fingers, if necessary (picture).

Gebrauchsanweisung Bild 15

Open both side panels and carefully remove the foot.

Gebrauchsanweisung Bild 16.2

In the toe area, press the central foam section to the desired shape for the toe-cap addition.

Gebrauchsanweisung Bild 17

Pressure marks created by the foot can now be worked out of the foam or deepened.

Gebrauchsanweisung Bild 18.1

Cover the foam with separating film or use silicone spray, so that the impression foam does not react with the casting compound to be poured into the Quickbox.

Gebrauchsanweisung Bild 19

Now completely close up the side panels and fasten the clasp.

Gebrauchsanweisung Bild 20.1

Casting compound can now be poured into the Quickbox through the upper opening.

Gebrauchsanweisung Bild 21

Wait approx. 1 minute after pouring. Then open the clasp and flap down the side panels to remove the raw last.

komplette Beschreibung einblenden

Download usage instructions

Tips:

  • Before moulding, have patients stand up and check their leg axis. If necessary, mark plumb lines with a design angle or long ruler along the lower leg.
  • Cast patient’s foot without socks or tights on. This makes the impression narrower and reduces the reworking required on the last.
  • Important: In order to achieve the easiest possible compression of the side shells, position your hands in the middle of the side shells, press your thumbs towards the floor, the other fingers grip the protruding upper edge of the Kuickbox from below and take on a rather pulling function.
  • When moulding the foot, deeper sections automatically occur, particularly where there is very soft skin and in the spaces between the toes. Simply even these out with filler.
  • If you require larger measurements, place a spacer on the foot in the clamping area before taking the impression – or use a protective stocking.

Show more details

Order the Kuickbox now

Use our order form to order your Kuickbox now.
The whole process is as easy, comfortable and secure as the Kuickbox itself.
Download the form, fill it in and send it off…and your Kuickbox will arrive in just a few days.

to the order form

What customers say about Kuickbox:

Since using the Kuickbox to create shoe lasts within my company, I have saved a lot of time that I can spend on more important tasks. The handy device is also positively received by my customers. So it gets a thumbs up from me.

Steffen Seidel 

Orthopaedic shoe master technician

With the new Kuickbox method 1: 1 foot negatives are created, which are not to be exceeded in accuracy. These negatives form the perfect working basis for the production of individual shoe lasts, which play an essential role in the production of orthopedic shoes. We are now using this process to perfect our proven quality, time and time again.

       Hermann Richter

       Orthopaedic shoe master technician

Do you have any more questions?

We’ve got the answers

How long does it take to create foot impressions?

Depending on the routine and severity of the misalignment, it usually takes around 1- 2 minutes for 2 feet.

How long does a Kuickbox last?

When used correctly, a Kuickbox will be a pleasure to use for several years – making lots of patients’ feet happy in the process.

Can any last foam be used for casting?

Generally, yes. However, we recommend using a less heavy and oppressive foam.

Does the foam need to be covered with a separating film or the like before casting?

Yes, otherwise the last foam reacts with the impression foam and causes too much volume to be lost.

Can I use one Kuickbox for the both the right and left foot?

Yes. One box is enough for both feet. After one side has been moulded, the refill cartridge is removed and a new one inserted.

Can the Kuickbox be used for anything other than taking foot impressions?

Absolutely. One option is to replace an existing old shoe last with a new one by taking a 1:1 mould of the used last. Another possibility would be moulding inner shoes, prostheses or apparatuses – these then serve as a measurement for creating lasts for overshoes.

Do you have any other questions? We’ll answer them!


Do you need a personalised offer or do you have questions about the product? Then contact us!

    Logo Teilnehmer Innovationspreis Handwerk 2018